Last updated November 21, 2026
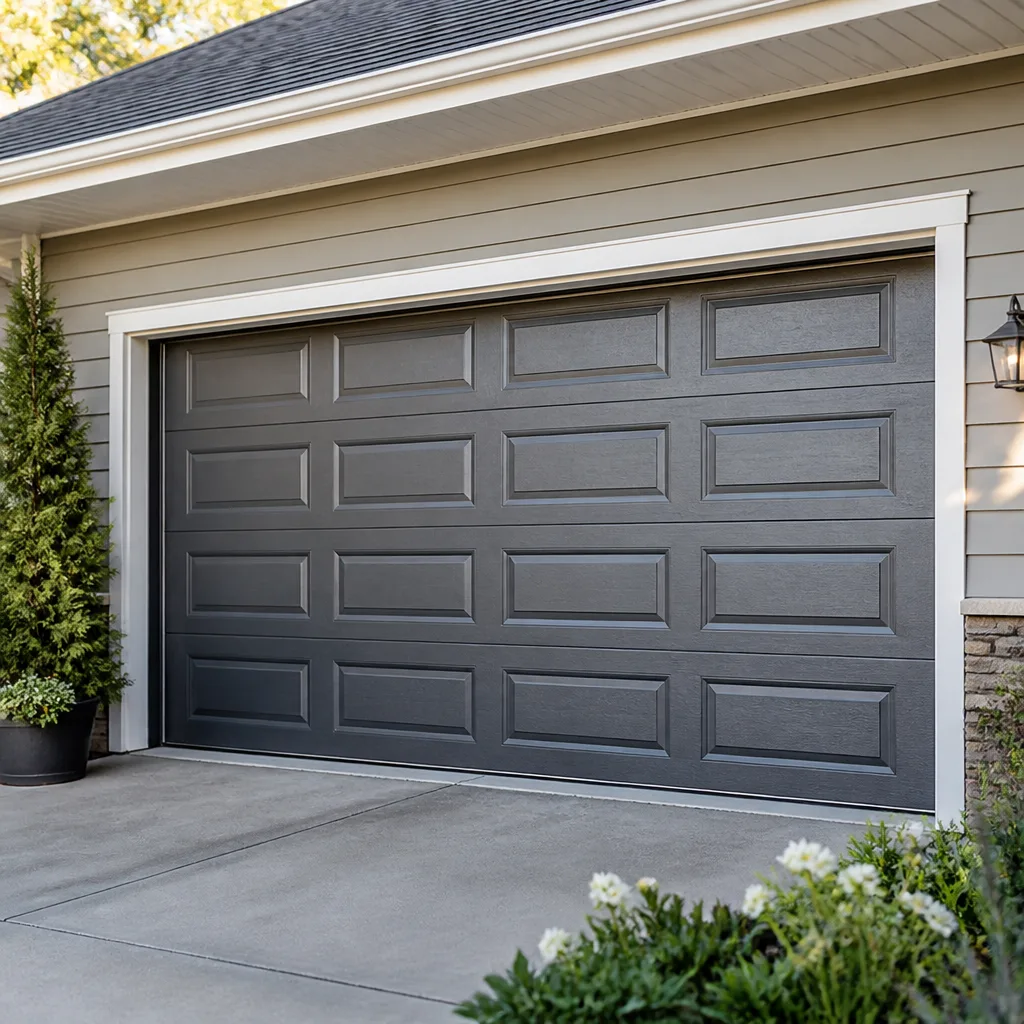 Raised-panel steel
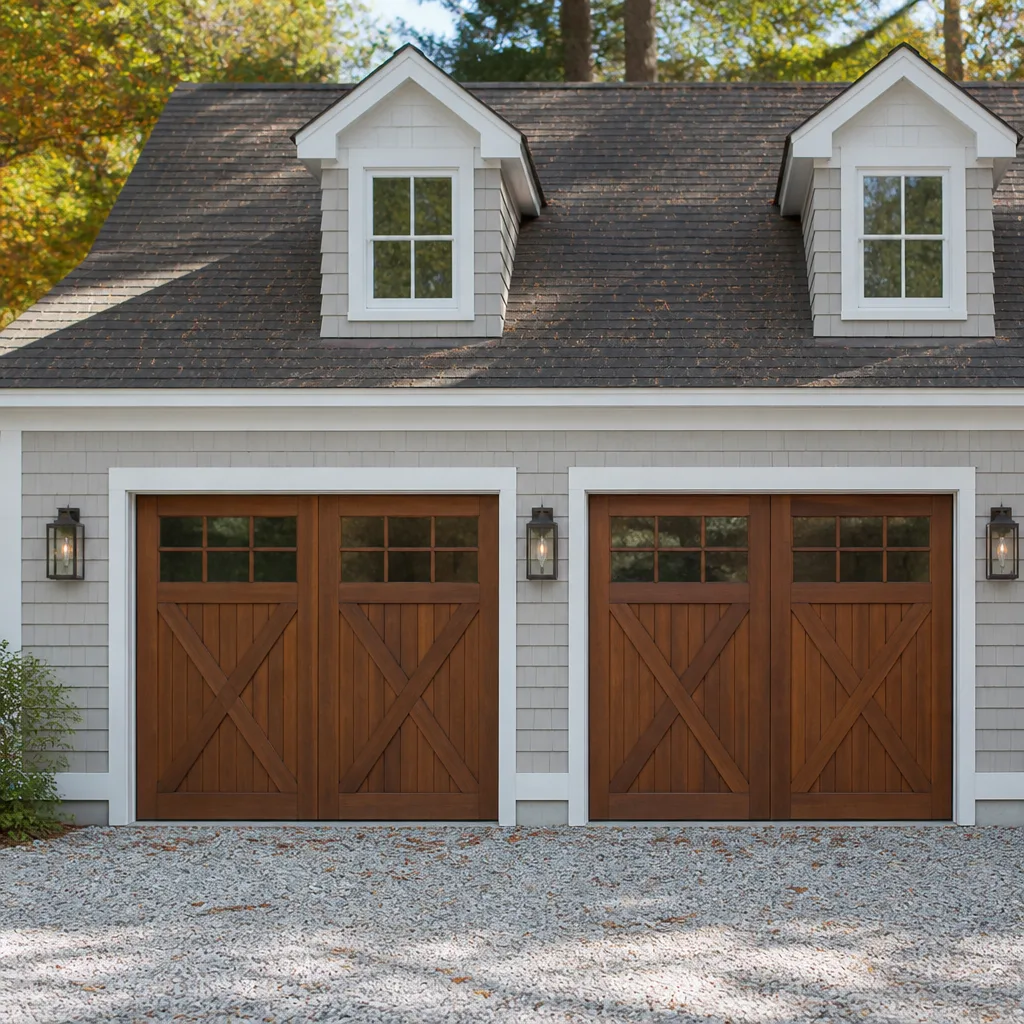 Carriage house
 Modern flush
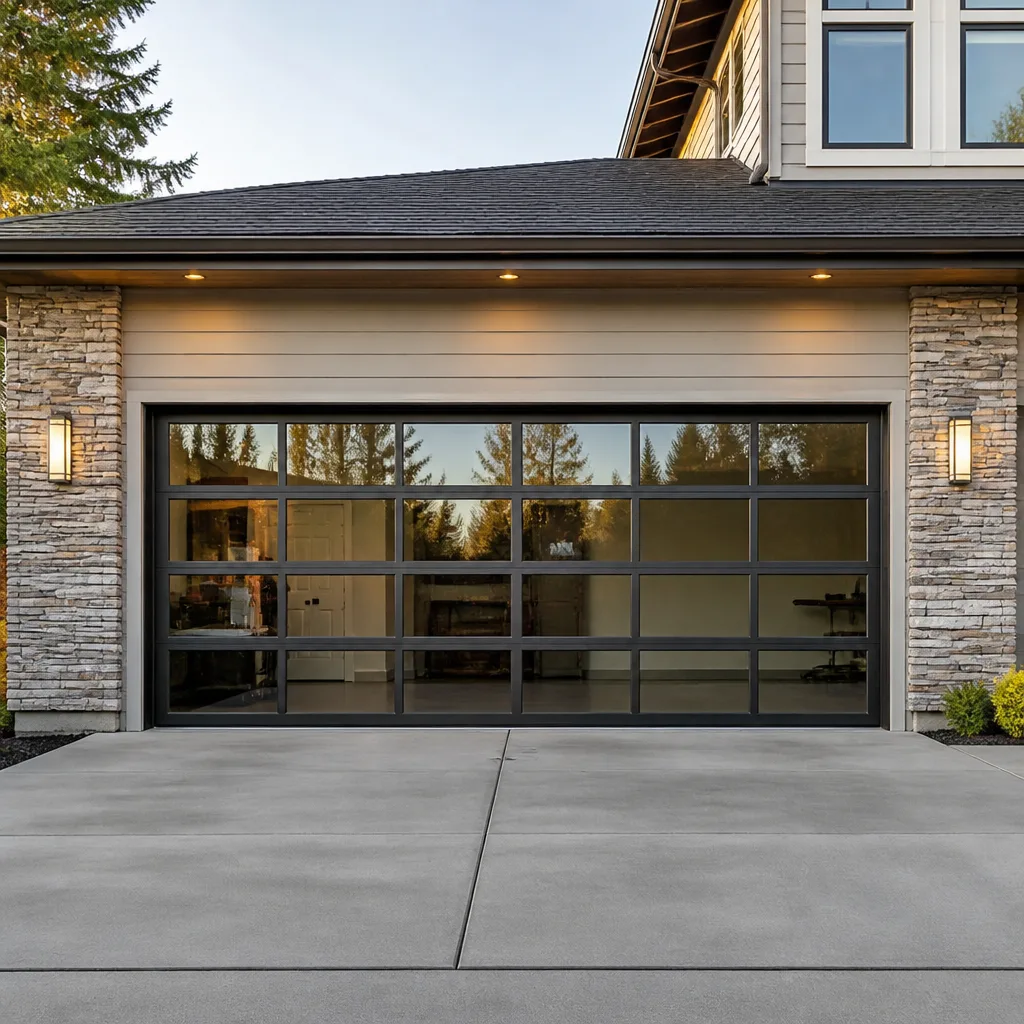 Full-view glass
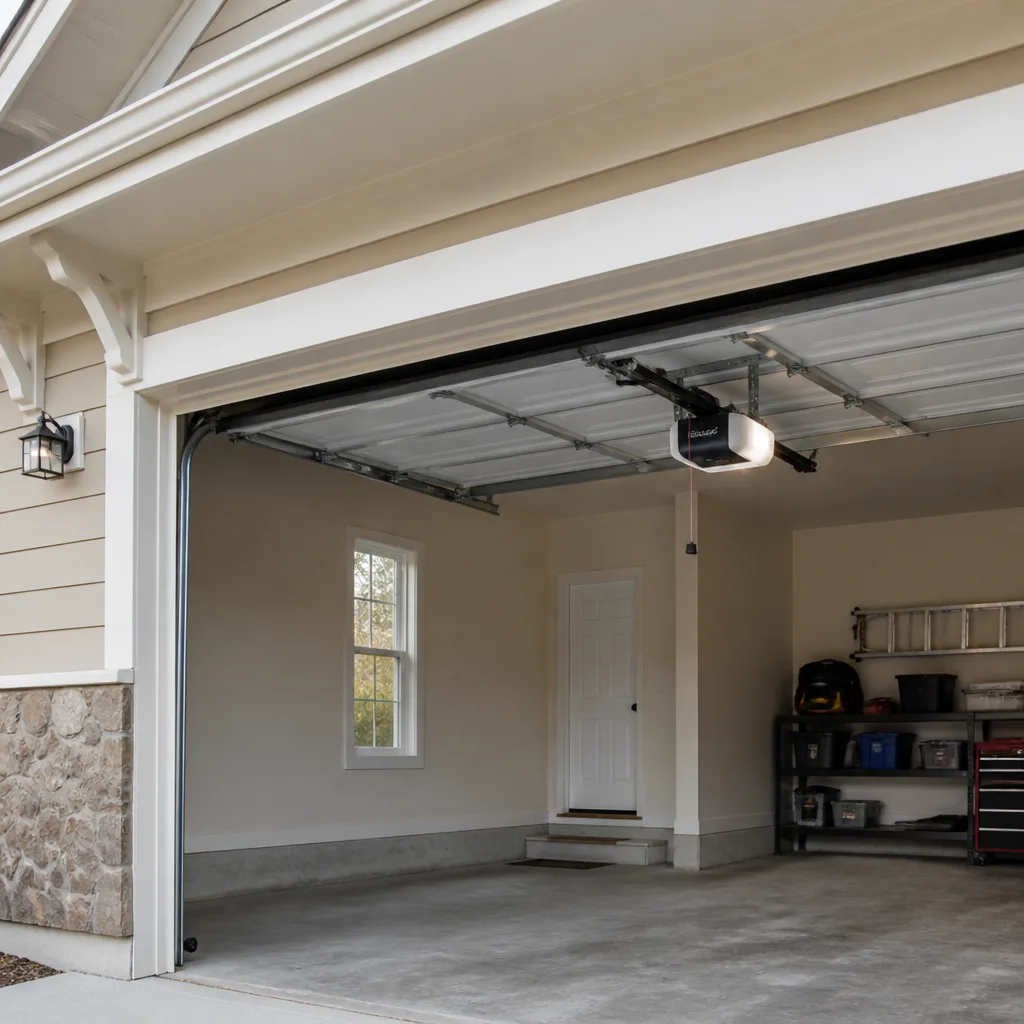 LiftMaster openers
 Chamberlain openers
Full 25-point door and opener safety check with every visit - springs, cables, rollers, tracks, and your LiftMaster or Chamberlain opener included
You get a price before we start. It does not change when the pro arrives.
Get your free estimateDIY vs Professional Garage Door: The Bushwick Homeowner’s Decision Guide
Torsion springs store enough energy to cause serious injury when they release unexpectedly. That’s not because the homeowner was careless. It’s because the physics of a spring failure doesn’t respond to caution, and that’s the whole reason this debate needs clearer boundaries than “are you handy or not?” Most DIY-versus-pro advice lumps every garage door job into one pile, which does a disservice to capable homeowners who can absolutely handle some of this work. So we’re drawing the line precisely: which tasks are genuinely safe to do yourself, which ones carry mechanical risk that doesn’t scale with skill, and where a professional visit saves you money instead of costing it. Bushwick garages have their own constraints, and we’ll get to those too.
Quick Answer
Lubrication, photo-eye sensor alignment, remote reprogramming and bottom seal replacement are safe DIY tasks for most homeowners. Torsion springs, extension springs, cables, and any track work under tension require a trained professional, because the stored energy in those components can injure you regardless of how careful you are. Everything in between – opener logic boards, limit switch adjustments, roller swaps – depends on your comfort level and the specific equipment in your garage.
Styles & brands we work with
- Raised-panel steel
- Carriage house
- Modern flush
- Full-view glass
- LiftMaster openers
- Chamberlain openers
Table of Contents
- How a Garage Door Actually Works, and Why That Matters for DIY
- The DIY-Safe Task List for Bushwick Homeowners
- Why Springs Sit in a Completely Different Risk Category
- The Honest Cost Comparison: When DIY Saves Money and When It Doesn’t
- Bushwick-Specific Constraints on DIY Garage Door Work
- How to Use a Professional Visit Strategically
- Brand-Specific Reality: Why Equipment Knowledge Changes the Math
- A Maintenance Schedule You Can Actually Keep
How a Garage Door Actually Works, and Why That Matters for DIY
A garage door isn’t a single machine. It’s a system of loaded parts working against each other, and understanding that system is what separates a task you can safely do from one you can’t. There are four subsystems: the door panels themselves, the track and roller assembly, the lifting mechanism (springs and cables), and the opener. The first two are mostly structural. The last two store or transmit force.
That distinction matters because the risk profile of each subsystem is different. Panels and bottom seals don’t hold energy. A torsion spring under tension holds a lot of it, and a cable under load transmits that energy along its entire length. When you’re deciding whether to do a job yourself, ask which subsystem you’re touching.
Most homeowners in Bushwick have a sectional door, either a standard 7-foot height or a slightly taller 8-foot if the garage was built for a taller vehicle. The springs sit either above the door on a torsion bar (torsion setup) or along the horizontal tracks (extension setup). Older Bushwick garages, especially the ones tucked behind converted rowhouses and small commercial buildings, sometimes have extension springs, while newer builds almost always use torsion. Knowing which you have is the first step in any decision.
We work on all of them – standard, low-headroom, high-lift, and custom. Brand-fluent across Clopay, Amarr, Chamberlain, Genie, LiftMaster, Wayne Dalton, Craftsman and Raynor, we can diagnose the actual equipment in your garage rather than guessing what’s likely there. That matters more than it sounds, because brand determines part availability and how the door is supposed to behave at the end of its travel.
If you’re still deciding whether your door needs repair at all, our guide to garage door repair walks through the symptoms and what they usually mean. For now, let’s separate what you can safely handle from what you shouldn’t.
The DIY-Safe Task List for Bushwick Homeowners
These jobs don’t involve stored energy, don’t require disassembly of the lifting mechanism, and can be done with basic tools. If you’re reasonably comfortable on a step ladder, you can handle them.
- Lubrication. Rollers, hinges, and the torsion bar bearings take a garage-door-specific lubricant (not WD-40, which is a solvent, not a lubricant). Twice a year is enough, and it eliminates most squeaks.
- Photo-eye sensor alignment. If the door reverses immediately after starting to close, a misaligned sensor is the usual cause. Clean the lenses, check that both LEDs are solid, and nudge the brackets until they’re aimed at each other.
- Remote reprogramming. New remote, new code, or a remote that stopped working after a power outage – the pairing procedure is in your opener manual and takes about a minute. Chamberlain and Genie both make this straightforward.
- Bottom seal replacement. A worn bottom seal lets water and cold air in. Slide the old one out of the retainer, cut the new one to length, slide it in. No tension involved, no risk.
- Track bolt tightening. Loose track bolts cause rattling. Tighten them with a socket wrench, but only bolts that are already snug or slightly loose. If a track is visibly bowed or out of alignment, stop and call a technician.
- Opener light bulb replacement and battery backup swap. Simple, safe, and worth doing before a power outage catches you.
- Cleaning and visual inspection. Wipe down panels, check for frayed cables (visual only – don’t touch), and note anything that looks off for the next professional visit.
What’s not on this list: spring work, cable work, roller replacement on a loaded door, and anything that requires you to disconnect the opener from the door while the door is up. Those jobs all involve stored energy. If your door is stuck or won’t move, the smarter move is a professional call rather than a DIY attempt. Our Garage Door Repair Bushwick team handles stuck doors regularly – that’s not a job to force.
If your opener itself is the problem, the safe move is diagnostics, not disassembly. Our garage door opener repair service covers everything from a dead logic board to a malfunctioning Travel module, and we can usually tell you what’s wrong from a description and a quick inspection.
Why Springs Sit in a Completely Different Risk Category
Here’s the mechanical reality. A torsion spring on a standard residential door is wound to somewhere between 7 and 9 full turns during installation. That stored rotational energy is what counterbalances the door’s weight. A 7-foot door might weigh 100 to 150 pounds, and that spring is holding roughly all of it. When the spring fails, either from fatigue or from being released improperly, that energy has nowhere to go except outward and upward.
This is why spring work isn’t about skill level. A skilled homeowner with good tools and a careful approach can still be badly hurt if the spring releases at the wrong moment, because the release isn’t gradual and it doesn’t respond to reaction time. There’s no “catch it” step. The tension is gone in less than a second.
Extension springs carry the same risk in a different direction. If one breaks or releases without the safety cable in place, it can whip along the track. That’s why most extension spring doors have a safety containment cable running through the center of the spring – and if yours doesn’t, that’s a code issue worth addressing.
We offer spring repair as a dedicated service because it’s one of the highest-risk, most commonly mishandled components in any garage door system. Our technicians have up to 15 years of experience with torsion and extension spring setups, and the work is done with proper winding bars and tension control – not with a DIY pry bar and hope.
If your door has a snapped spring (you’ll usually hear a loud bang, and the door will suddenly become very heavy), don’t force it up or down. Leave it closed, don’t cycle the opener, and call a professional. The door being stuck is the safe outcome; forcing it is where injuries and secondary damage happen.
The Honest Cost Comparison: When DIY Saves Money and When It Doesn’t
DIY is genuinely cheaper for the safe tasks. A tube of garage door lubricant costs less than $10. A replacement bottom seal runs $20 to $50 depending on door width. Remote reprogramming is free. Those are real savings with no downside.
DIY is a gamble for the borderline tasks. Replacing a roller set yourself saves the labor cost of a service call, but if you nick a cable or misalign a hinge during the swap, you turn a $150 job into a $400 one. The math only works if you’ve done it before.
DIY is a false economy for spring, cable, and track work. Not because the parts are expensive – they aren’t – but because the failure mode is an injury, and the parts you can buy without a trade account aren’t always the right grade. Here’s roughly how a typical professional spring repair prices out in Bushwick:
| Job | Typical professional cost | What’s included |
|---|---|---|
| Torsion spring replacement (one spring) | Roughly $180 to $340 | New spring, winding, tension calibration, balance test |
| Matched pair of torsion springs | Roughly twice the single-spring range | Both springs replaced together, balanced as a pair |
| Extension spring replacement (one) | Roughly $120 to $230 | New spring, safety cable check, balance test |
| Cable replacement | Roughly $150 to $300 | New cable, reset tension, full door inspection |
| Track realignment | Roughly $120 to $280 | Realignment, roller check, door travel test |
Those ranges are typical estimates for the Bushwick market, not a quote. The written estimate you get after a technician looks at your door is the final price, and we don’t start work until you’ve agreed to it.
When DIY saves real money: cleaning, lubricating, seal replacement, remote issues, sensor alignment. When a botched repair costs more than the professional job would have: anything that touches springs, cables, or the track under load. A mis-wound spring can damage the opener’s gear assembly, crack a panel, or warp the torsion bar – and now you’re paying for two repairs instead of one.
Bushwick-Specific Constraints on DIY Garage Door Work
Bushwick garages are a different animal than suburban two-car setups, and that shows up in three specific ways.
Workspace. Many garages in the neighborhood are single-car, low-ceiling, and packed with storage. You don’t have the clearance to safely set up a ladder for spring work, and the lack of side room makes handling a loaded door dangerous even if you know what you’re doing. If you can’t stand fully upright in front of the door with both hands free, that’s a real constraint, not a mental one.
Part sourcing. Commercial-grade springs, rated to a specific cycle count, aren’t sold at the average hardware store. Trade accounts exist for a reason, and the springs you’ll find online without a trade account are often rated for far fewer cycles than what a professional would install. For anything involving the actual lifting mechanism, part quality is the difference between 5 years of reliability and 18 months.
Climate and building age. Bushwick winters get cold enough to stiffen lubricants and stress seals. Trees along the streets drop debris into tracks, and older garages often have framing that shifts slightly with the seasons. That combination means routine maintenance – lubrication, seal checks, track bolt tightening – pays off more here than in a milder climate. It also means a door that was fine in October can start binding in January.
For anything structural – a door that’s visibly off its track, a bar that’s bowed, or a panel that’s cracked – the constraints tip the math toward professional work. Our guide to garage door installation covers the full scope of a replacement door, including what’s involved in retrofitting an older Bushwick garage opening to a modern standard size.
How to Use a Professional Visit Strategically
The underrated move is to use a professional for the dangerous work and take back the maintenance yourself. That’s a real way to reduce lifetime cost, not a compromise. Here’s how to structure it:
- Book one visit to handle the high-risk task. If you have a failing spring, a frayed cable, or a track that’s under load, don’t DIY any of it. Get a technician in to do the repair and to inspect the whole system while they’re there.
- Ask the technician to flag everything that’s safe for you to handle yourself. Lubrication points, seal replacement, sensor alignment – anything non-loaded. A good technician will tell you honestly, because there’s no upsell in maintenance you’ll actually do.
- Get a written estimate before any work starts. This should include the specific parts and their cycle ratings, not just a labor line.
- Ask about the opener’s last service. If the door is being repaired, cycle the opener and check the auto-reverse. A door that works but an opener that’s misadjusted is still risky.
- Take over the maintenance schedule yourself from that point. Two lubrication passes a year, one visual inspection per season, and a professional check if anything changes.
That structure gets you the safety of professional work where it counts, without paying a service call for every routine task. Emergency service, when you need it, is a separate line item – and we treat it as a core offering, not an upsell. If your door fails at an inconvenient hour, a call to a professional is faster than a DIY attempt that turns into an emergency-room visit.
For doors that have reached the end of their service life, a full replacement is usually the better math than repeated repair. One contractor should handle the whole arc – a broken opener today, a full door replacement later – so you’re not repeating the diagnostic process with a new company each time.
Brand-Specific Reality: Why Equipment Knowledge Changes the Math
Garage doors aren’t standardized. An Amarr spring is different in diameter and length from a Clopay spring for a similar door weight. A Chamberlain opener uses different logic-board architecture than a Genie. When you DIY, you’re diagnosing without knowing the model-specific quirks, and the parts you order may not be the parts your door wants.
Here’s how brand knowledge affects the DIY decision:
- Chamberlain and LiftMaster openers are the most common in Bushwick (they share a manufacturing lineage). Parts are widely available and the manuals are thorough, so DIY tasks on these openers – remote programming, battery backup, light bulbs – are straightforward. Anything requiring a logic board swap is a different conversation.
- Genie openers have some model-specific quirks in the travel-limit adjustment process. The mechanism is safe to adjust, but the calibration steps differ by model, and getting it wrong leads to the door reversing partway through its cycle.
- Clopay and Amarr doors use specific panel and hardware configurations that don’t interchange. If you’re replacing a damaged panel or hinge, the part has to match the manufacturer’s line, not just look close.
We work on the brand already in your garage – LiftMaster, Chamberlain, Genie, Clopay, Amarr, Wayne Dalton, Craftsman, and Raynor – which means our technicians can identify part numbers and cycle ratings from a visual inspection instead of looking them up. That’s the difference between a five-minute diagnosis and a week of guessing.
If your opener is the problem, don’t take the logic board out yourself unless you’ve done it before. The capacitors hold a charge even after the unit is unplugged, and the ribbon connectors are easy to tear. A qualified tech will work on the actual equipment in your garage, safely, and get it right the first time.
A Maintenance Schedule You Can Actually Keep
Most maintenance advice assumes you’ll do the work weekly. You won’t, and you shouldn’t have to. Here’s a schedule that reflects how a garage door actually wears in Bushwick:
- Twice a year (spring and fall): Lubricate rollers, hinges, and torsion bar bearings. Wipe down the bottom seal and check for cracks.
- Once a year (late fall): Tighten track bolts that are loose, check the safety reverse function, and inspect the cable visually for fraying.
- Before winter: Test the opener’s battery backup (if equipped) and check that the door closes fully. Cold weather stiffens lubricants and stresses the seal.
- After any noticeable change: If the door suddenly becomes louder, slower, or uneven, do a visual inspection that day. Changes signal problems early.
If your door hasn’t had a professional inspection in several years, book one. A technician can verify that the torsion springs are still within spec, that the cables haven’t started to stretch, and that the opener is putting the right amount of force into the door. Fifteen minutes of inspection can save you a full spring replacement down the road.
Common Mistakes to Avoid
- Forcing a door with a broken spring. If you hear a bang and the door becomes very heavy, don’t try to lift it. You’ll strain the cables, damage the opener’s gear, and risk injury. Leave it closed and call a professional.
- Using WD-40 instead of a proper lubricant. WD-40’s solvent base strips the original grease and leaves rollers squeaking worse. Use a garage-door-specific lubricant on rollers, hinges, and bearings.
- Adjusting torsion springs without winding bars. A DIYer using a pry bar or screwdriver is one slip away from a serious injury. If you don’t have proper winding bars and the training to use them, don’t unwind the spring. Full stop.
- Buying springs without checking the cycle rating. Online spring sellers often list the wire size and length but not the cycle count. A cheap spring rated for 10,000 cycles will fail noticeably faster than a professional-grade spring rated for 20,000 or more, especially in Bushwick’s cold winters.
- Disconnecting the opener while the door is up. This leaves the full weight of the door on you, not on the opener. If you need to disconnect the opener, do it with the door fully closed.
- Ignoring a frayed cable. A cable with visible fraying is a cable that’s close to failing. Don’t touch it, don’t cycle the door more than necessary, and call for service.
- Assuming a stuck door is a DIY fix. Stuck doors result from snapped springs, off-track rollers, cable issues, or opener failure. Each has a different correct fix, and treating a spring problem as a track problem is how the repair cost triples.
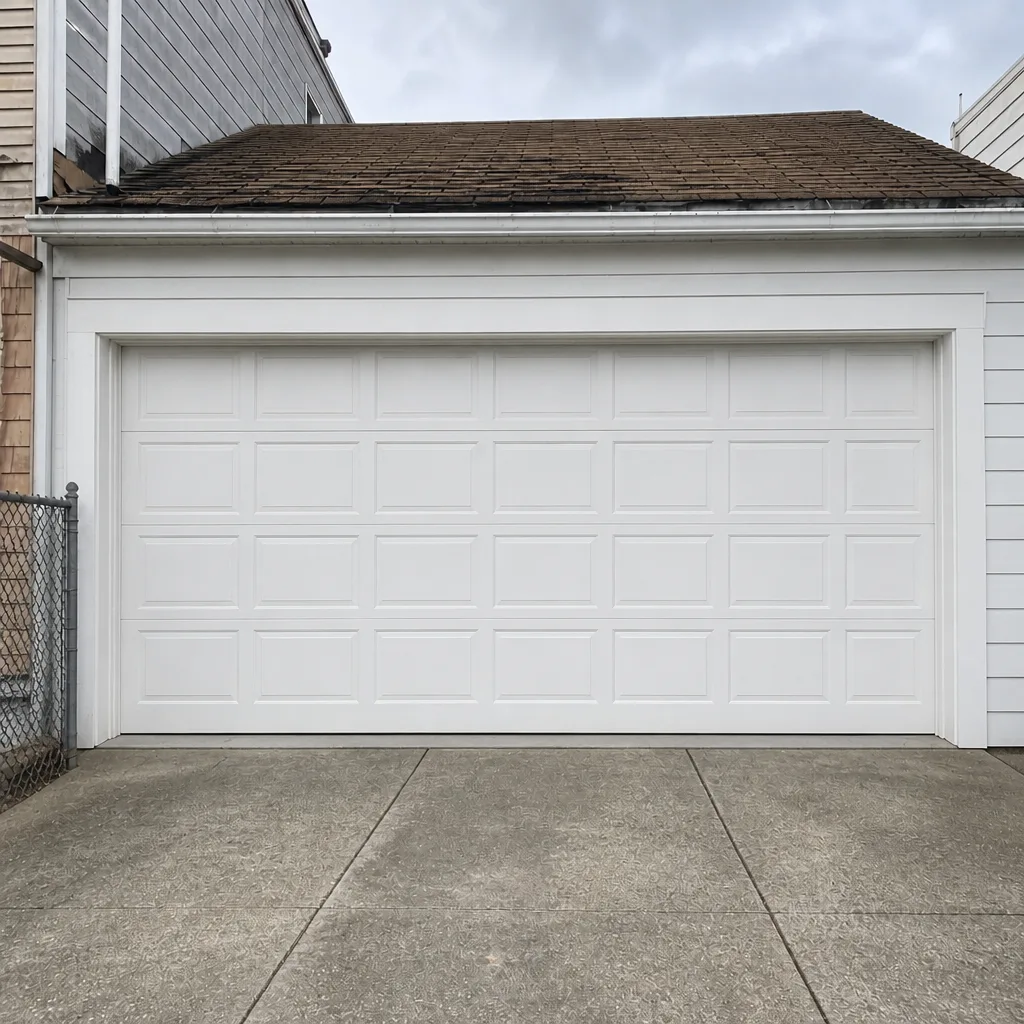
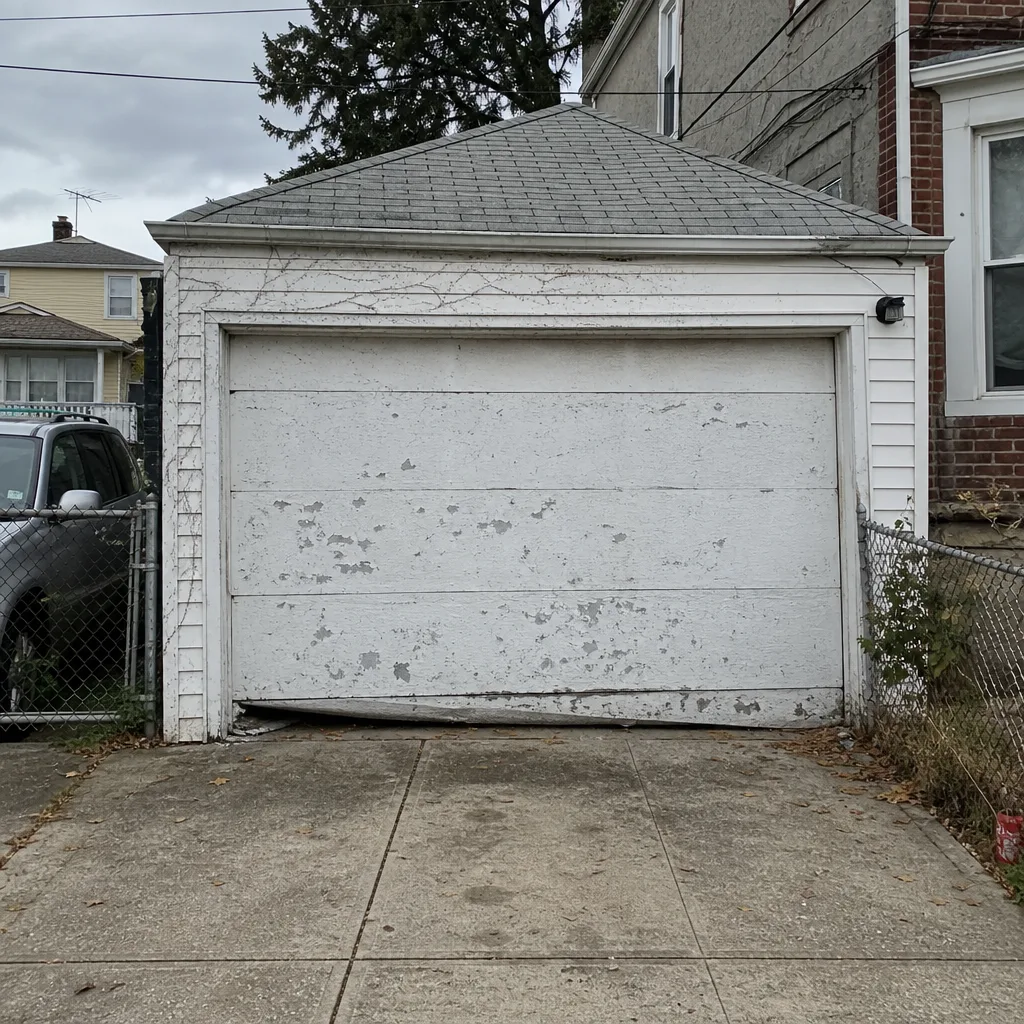
See the difference
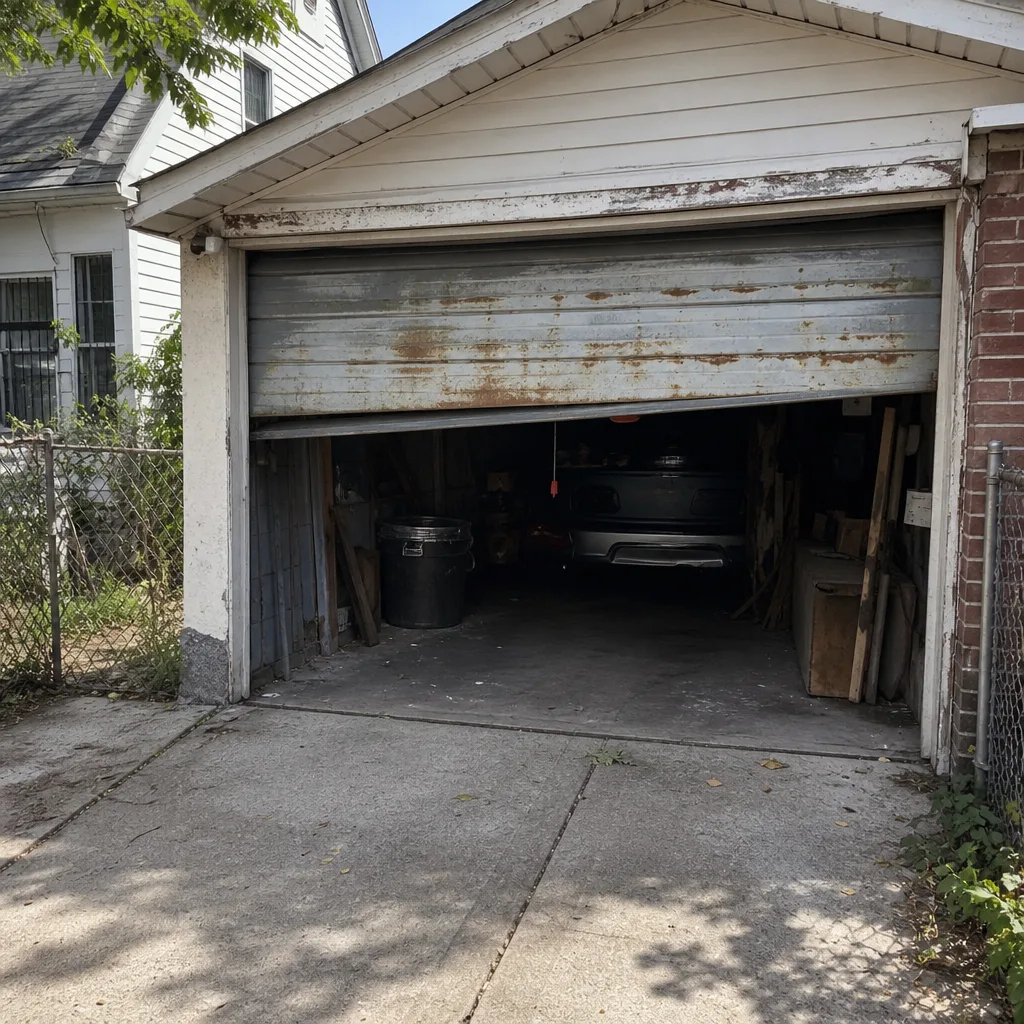 Before
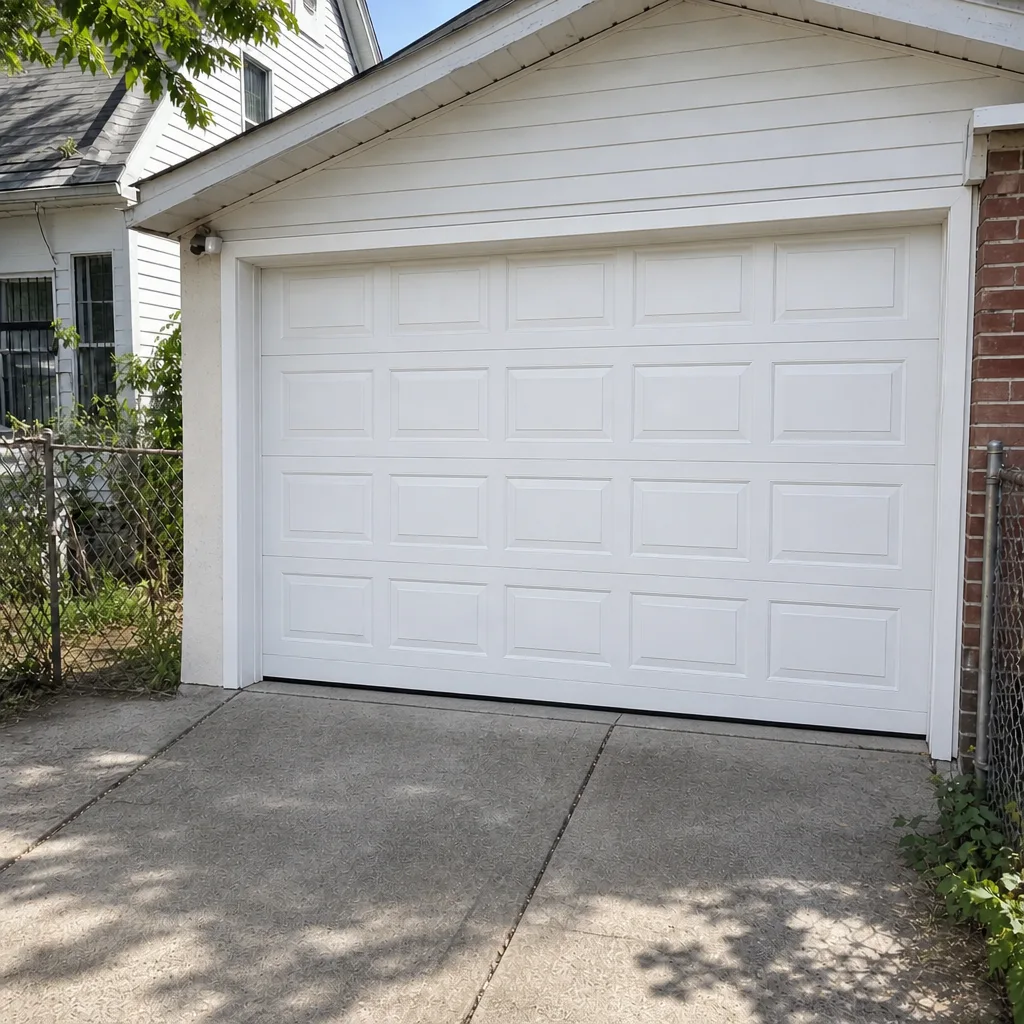 After
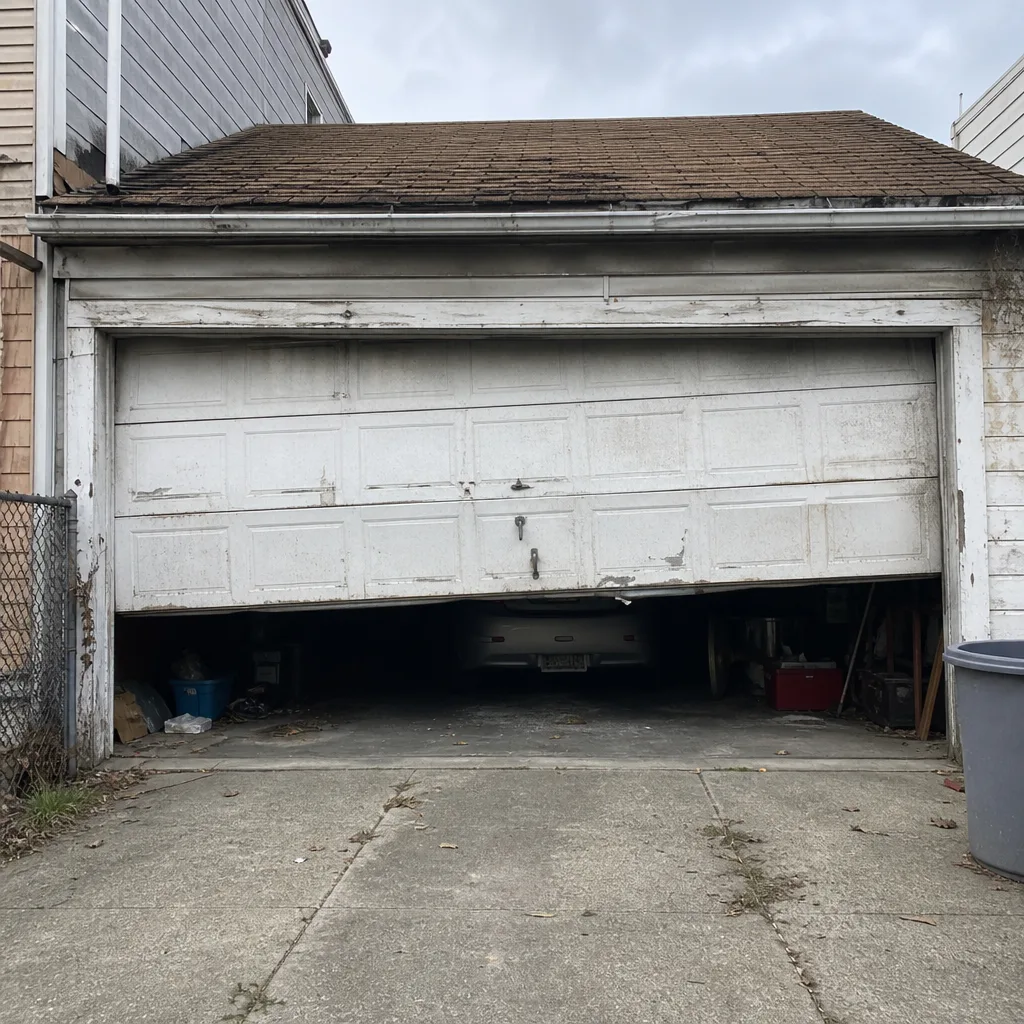 Before
 After
 Before
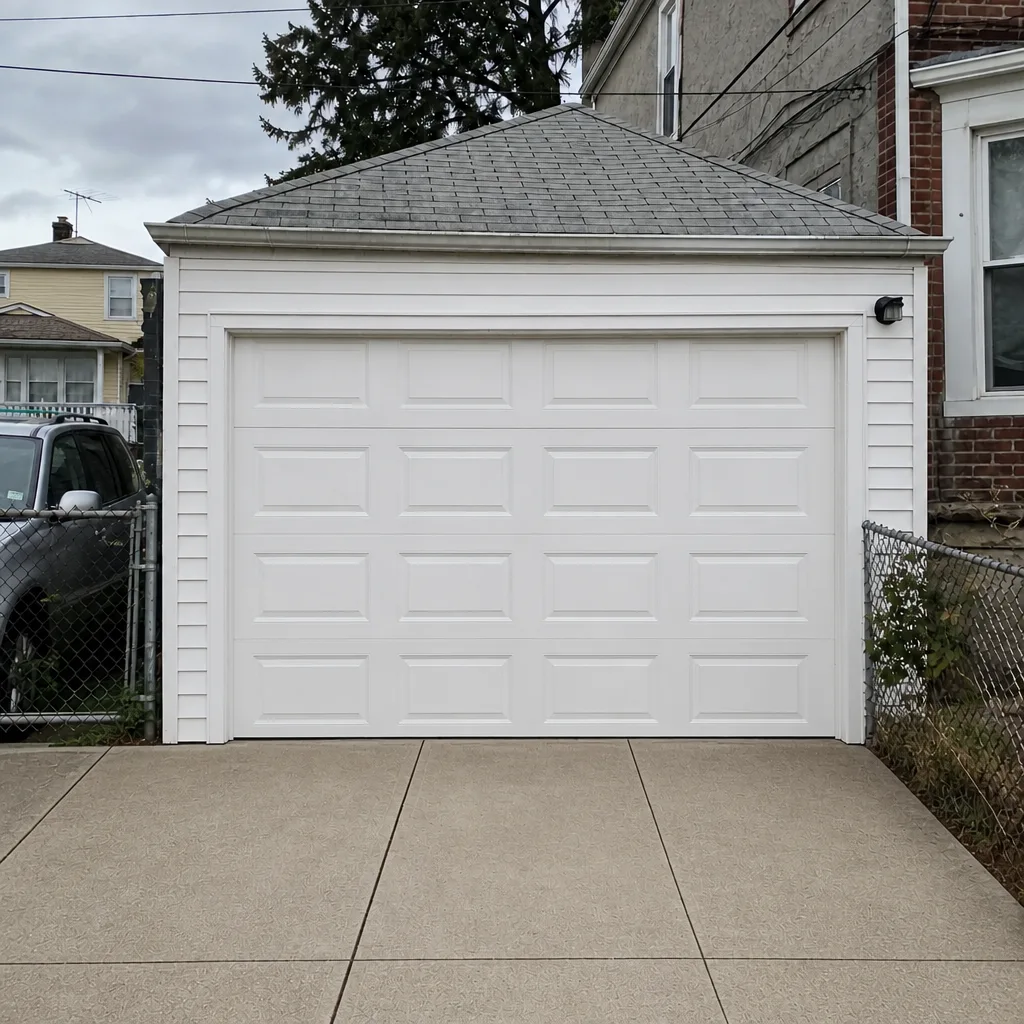 After
When to Call a Professional
Call a professional if any of these apply: you hear a bang from the garage and the door becomes very heavy (snapped spring), a cable is visibly frayed or hanging loose, the door is off its track or visibly crooked, the torsion bar is bowed, a panel is cracked or bent, or the door won’t close all the way and the opener keeps reversing without a sensor issue. Any of those can turn into a bigger, more expensive problem if you try to force it. Our technicians have up to 15 years of experience with the specific equipment in Bushwick garages, and we work on the brand that’s already installed rather than guessing. Garage Door Repair Bushwick offers free estimates in Bushwick – call (888) 839-3311. We can quote the work, explain what’s needed, and get the estimate to you before any work starts.
Frequently Asked Questions
No. Torsion and extension springs store enough energy to cause serious injury when they release, and the release happens too fast for reaction time to help. Even an experienced DIYer with proper winding bars is taking a real risk without a second set of hands and proper training. Call a professional for spring work.
It depends on the opener and your electrical comfort level. Replacing a plug-in opener with a like-for-like model is within reach for a capable DIYer; anything involving a new circuit, hardwiring, or a different opener type should be done by a licensed electrician or a garage door specialist. Openers also need force and limit calibration after installation that most DIYers skip, and that’s what causes the door to reverse improperly or crush objects.
Typically about $180 to $340 for one torsion spring, including the new spring, winding, and balance test. Matched pairs (which is how springs are usually replaced) run about twice that. Extension spring repair runs roughly $120 to $230 for a single spring. Call (888) 839-3311 for a free estimate specific to your door – the written estimate sets the final price.
Usually yes. The most common cause is misaligned photo-eye sensors. Check that both LEDs are solid, clean the lenses, and adjust the brackets until they’re aimed at each other. If the sensors are aligned and the door still reverses, the issue is likely a travel limit or logic board problem, which is a professional repair.
For basic items – bottom seals, remotes, lubricant, photo-eye sensors – yes, those are available at hardware stores and online. For springs, cables, and commercial-grade hardware matched to your specific door weight and cycle rating, no. Those need a trade account and a part number matched to your equipment, which is one of the practical constraints on DIY here.
Yes – the local professionals we connect you with are licensed and insured as their state requires. We don’t give price ranges without confirming what’s included, and the estimate you receive before any work starts is the price you’ll be charged.
Only if the scope of the repair is different from what was described when the estimate was prepared. A spring repair quoted as one spring might become a two-spring job if the second spring is also fatigued – and we’ll tell you that before we start. The price is agreed before any work begins; it doesn’t change after.
Forcing a door with a broken spring. Homeowners hear the bang, assume the door is just “stuck,” and try to lift it manually. That strains the cables, can bow the torsion bar, and sometimes damages the opener’s gears – turning a straightforward spring repair into a multi-part job. The safe move is to leave the door closed and call.
The Bottom Line
The DIY-versus-professional question comes down to one clear line: tasks that touch stored energy are professional work, and tasks that don’t are fair game for capable homeowners. Lubrication, sensor alignment, remote programming, seal replacement, and visual inspection are safe and save real money. Springs, cables, and track work under load are not about skill – they’re about physics. A Bushwick garage adds its own constraints: tight workspaces, limited local part sourcing, and cold-weather stress on seals and lubricants. Use a professional for the dangerous work, take back the maintenance, and get a written estimate before anything starts. That’s how to keep the door working without risking your hands.
When you need a specialist for the parts that matter, we’re here. Call (888) 839-3311 for a free estimate in Bushwick. Our technicians have up to 15 years of experience, we work on the brand already in your garage, and we’re structured to respond when a door fails at an inconvenient hour – not just during a 9-to-5 window. Whether it’s a spring swap today or a full door replacement later, one call handles it from repair through installation.
Written by the team at Garage Door Repair Bushwick.